The RetroFoam Install Method
Your Premier Choice for Advanced Insulation Solutions
At RetroFoam of East Tennessee, we are proud to offer top-tier insulation services utilizing the innovative and highly effective RetroFoam product. RetroFoam is a cutting-edge injection foam insulation system that is designed to enhance the energy efficiency of your home.
Made from a non-expanding, resin-based open-cell foam, RetroFoam is injected directly into wall cavities where it expands and hardens in place, creating a seamless and highly efficient thermal barrier.
With an impressive R-value of approximately 4.6 per inch, or R16 when fully installed, RetroFoam significantly reduces heat transfer, providing up to 95% improvement in energy efficiency. This reduction in heat flow ensures that your home maintains a comfortable temperature year-round, while lowering your energy bills and contributing to a more sustainable environment.
For a detailed breakdown of the installation process and to learn more about how RetroFoam can improve your home’s energy efficiency, please see the information below or contact us directly. We’re here to help!
Let me know if you'd like further adjustments!
Reviews
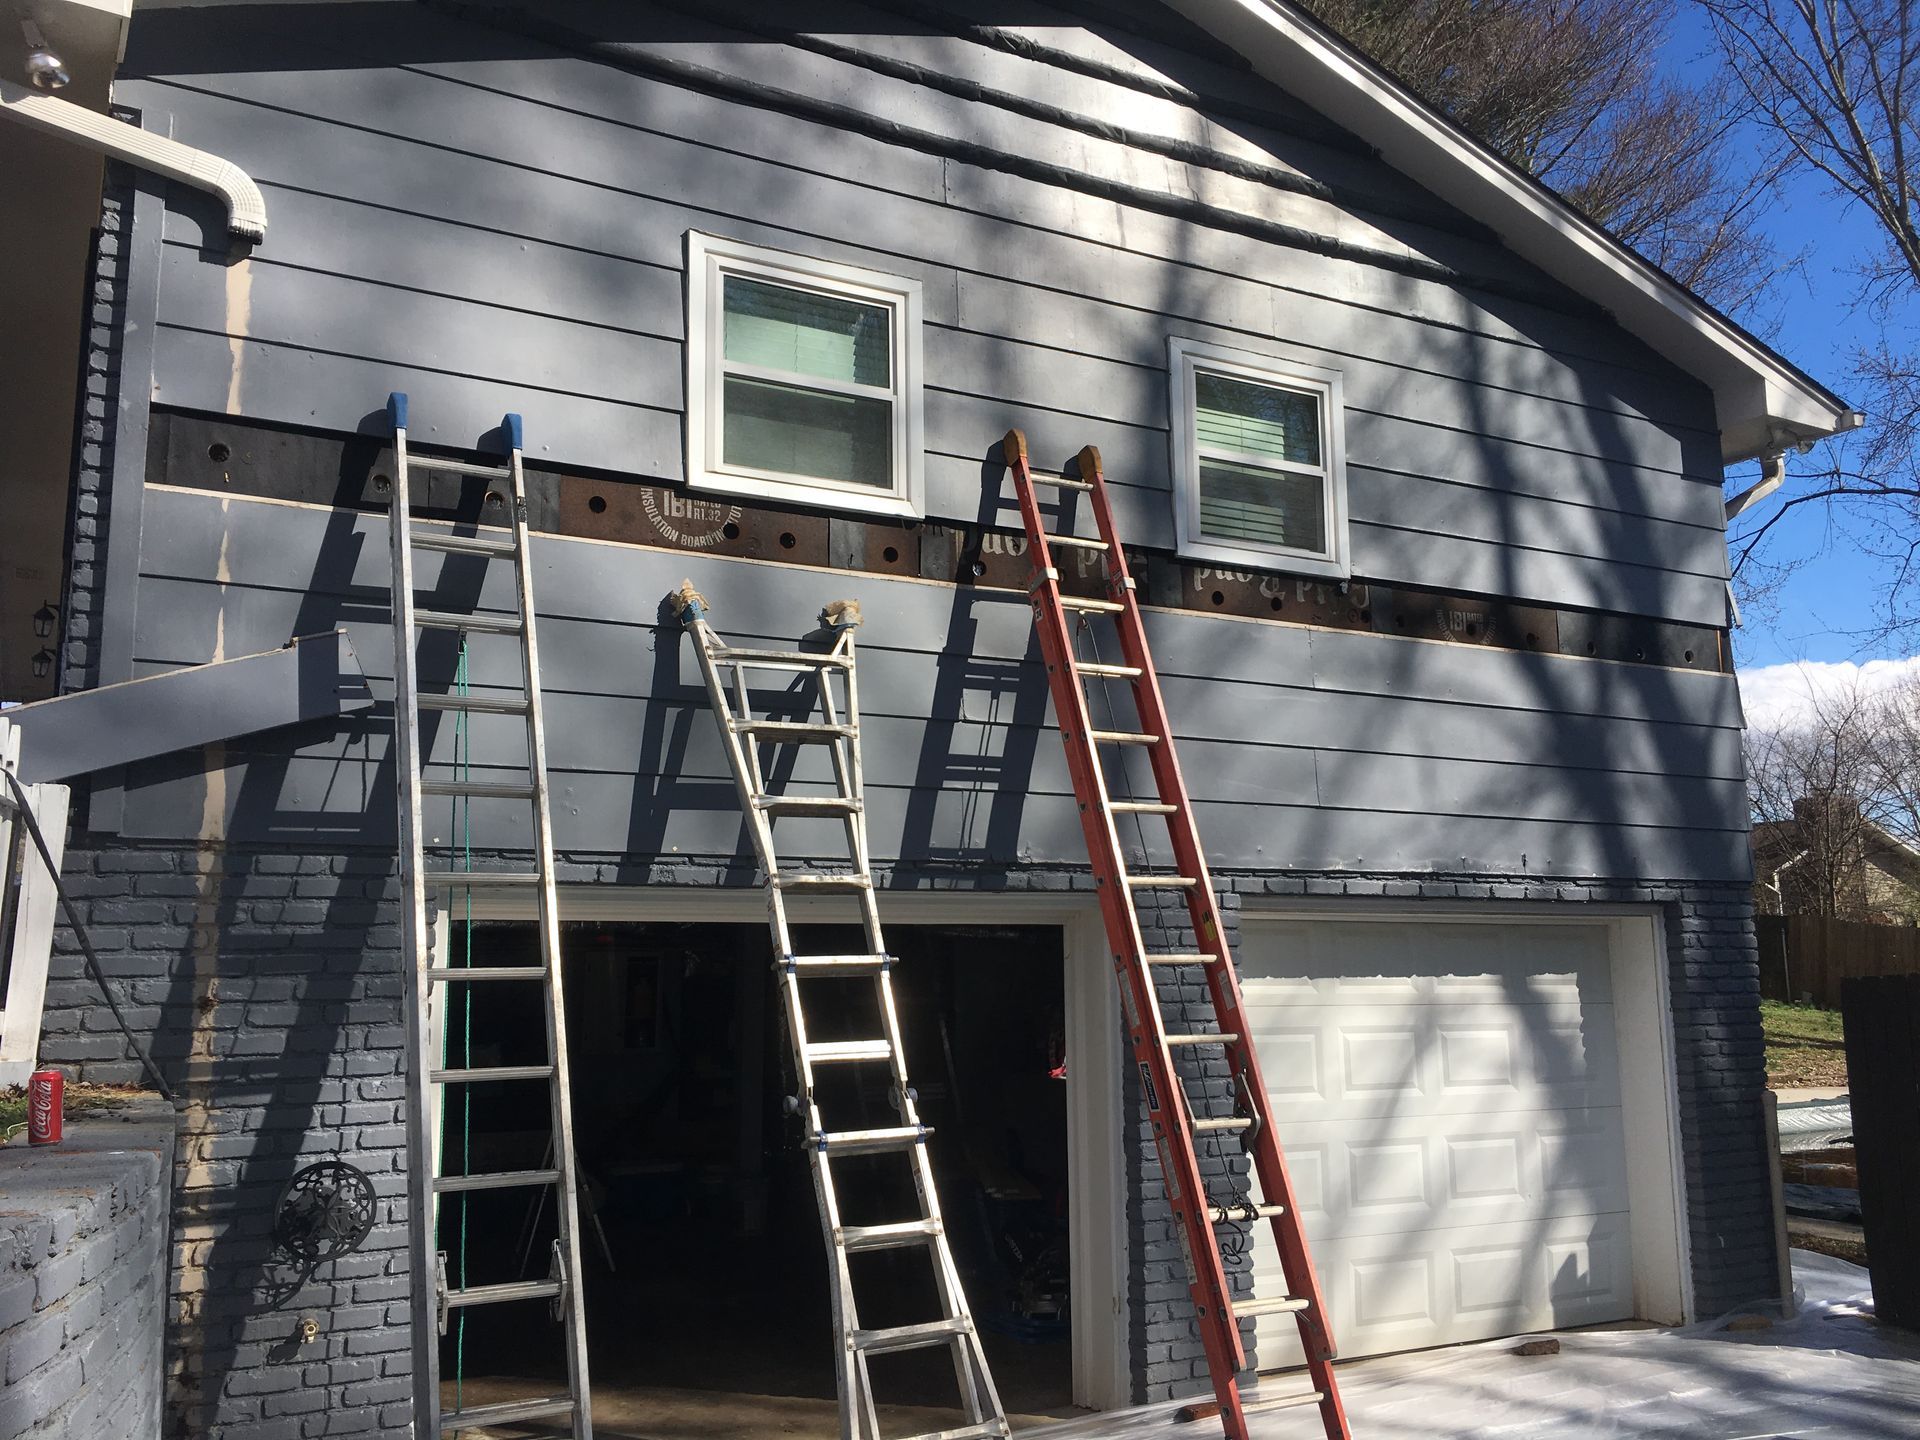
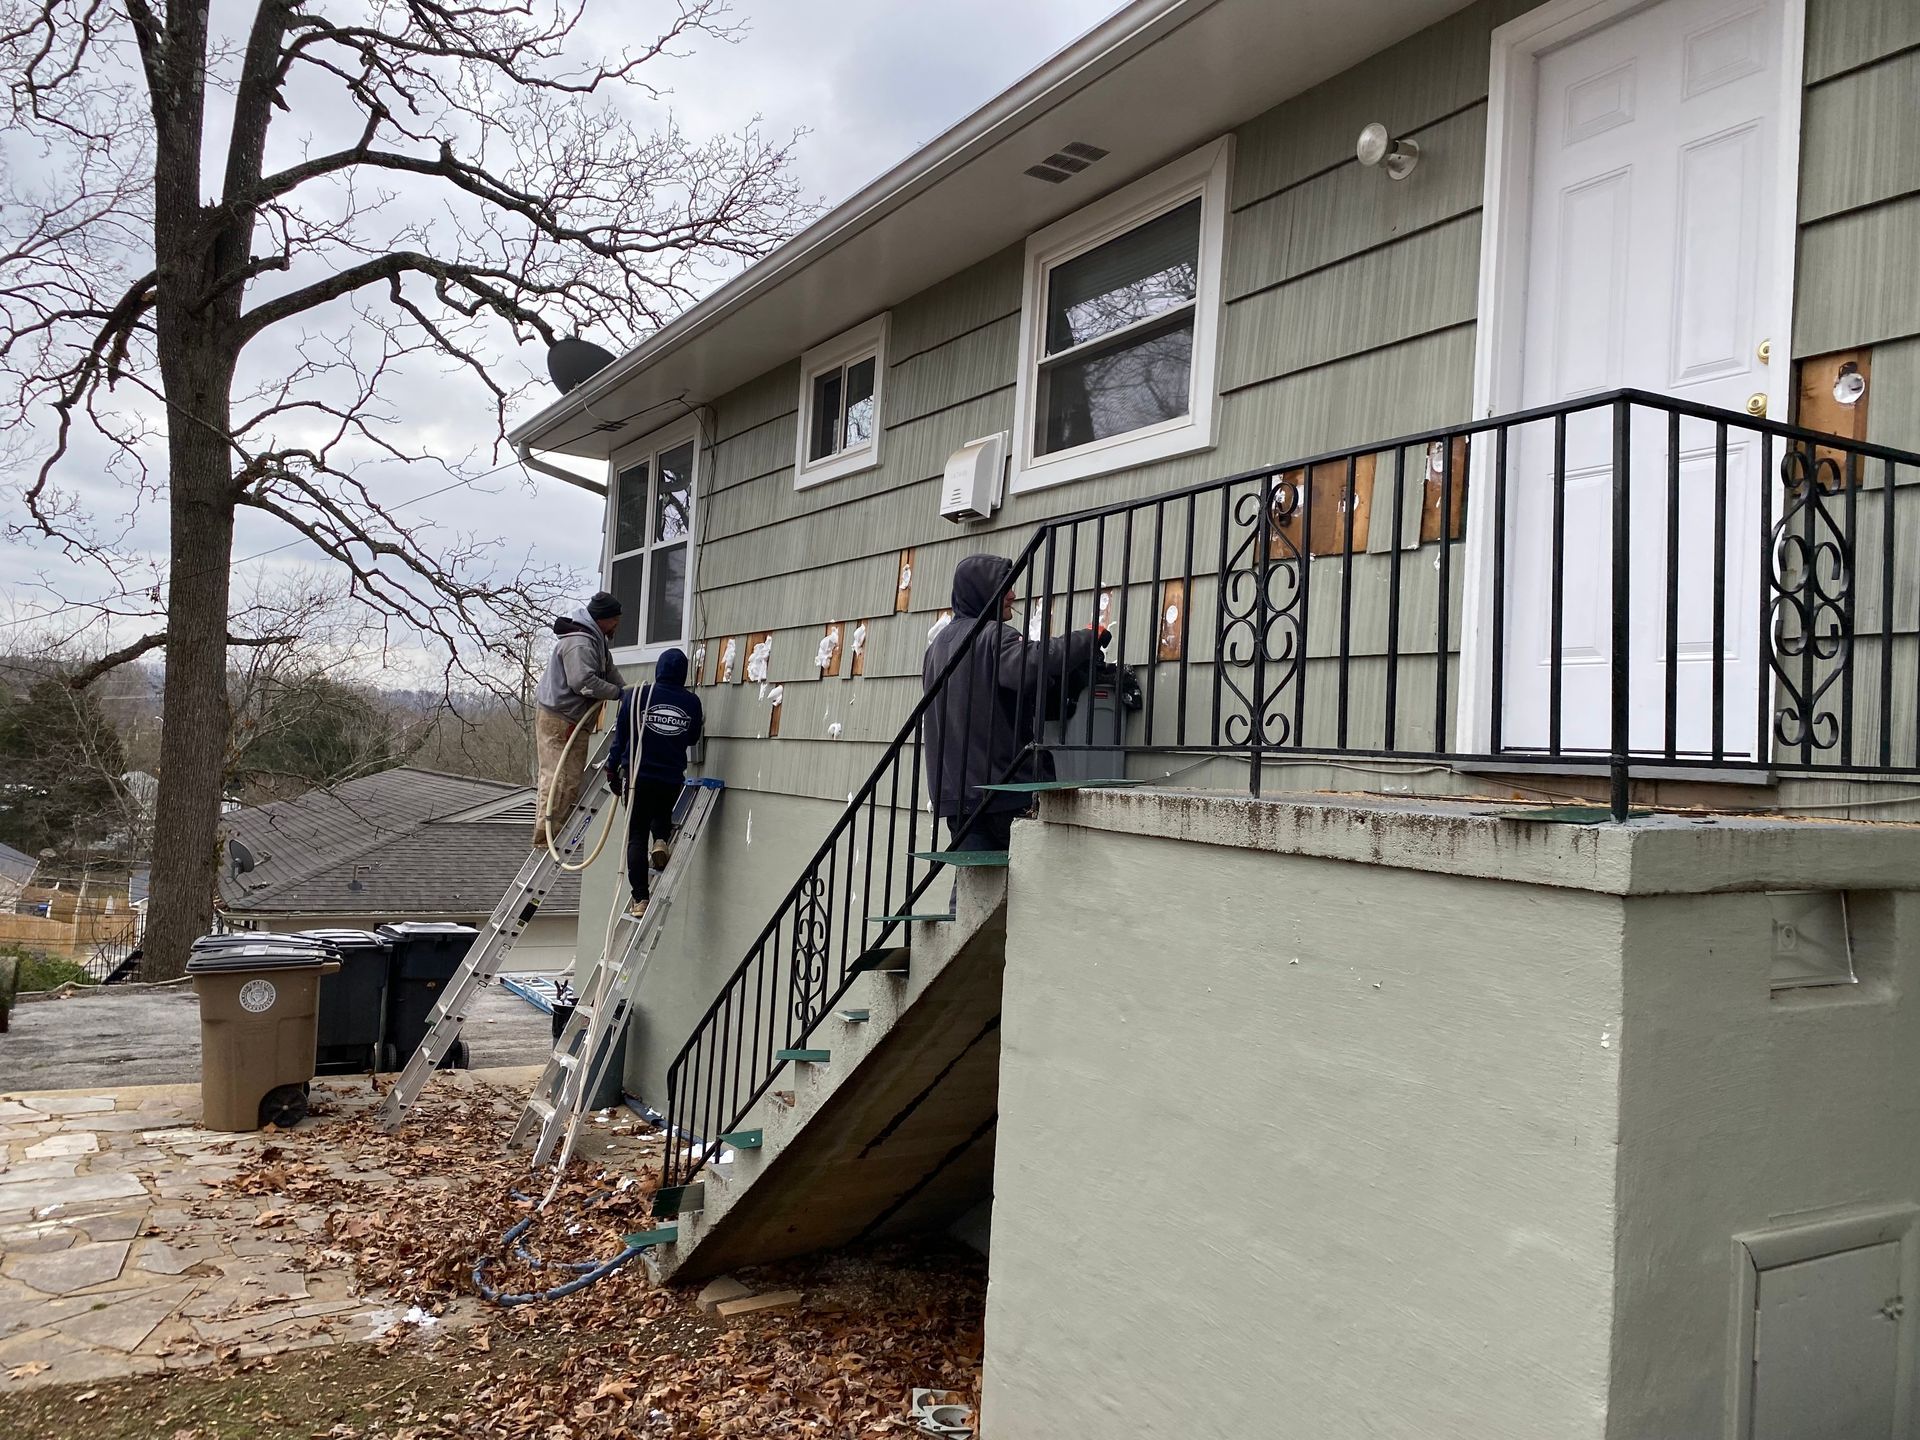
Vinyl and Aluminum Siding Install
Whether your home has aluminum or vinyl siding, the process to install RetroFoam injection foam insulation is the same.
The installers will remove a row of siding around the entire home. Generally, a 2 ½-inch hole is drilled into each of the stud cavities, and the foam is injected. The installer will run the injection hose up to the top of the cavity and begin injection. Once they get to the middle of the cavity, they will then run the hose from the bottom to the middle. This method ensures the cavity is completely filled. Once the injection process is complete, the holes drilled into the sheathing are plugged, and the siding is replaced.
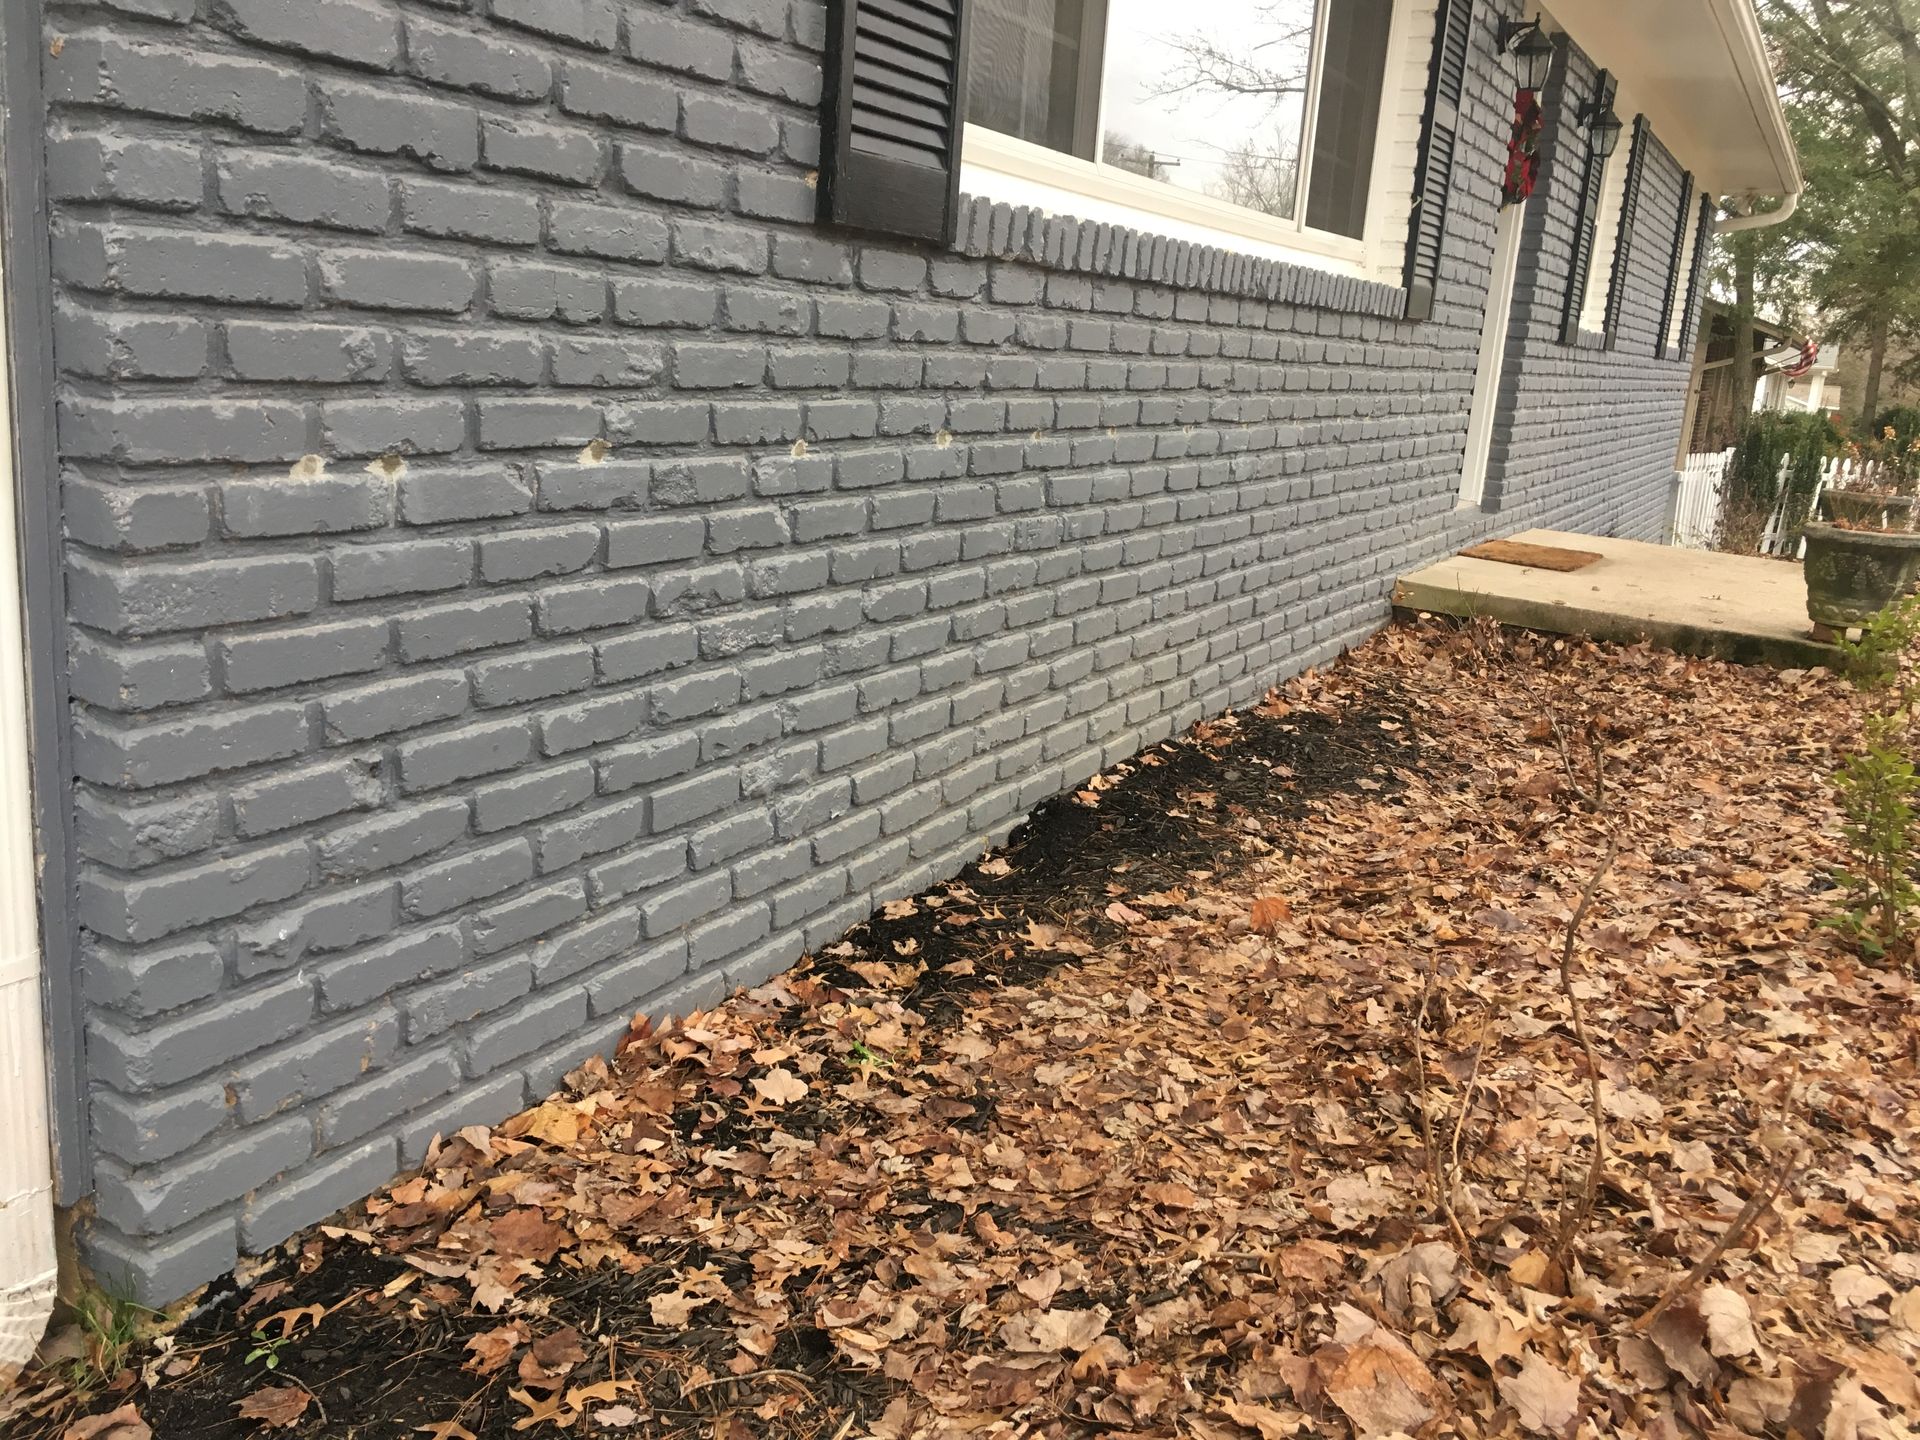
Brick Exterior Install
The insulating brick exterior process is obviously different from other siding materials as it doesn’t make sense to remove brick to gain access to the wall cavity.
In this installation process, three 5/8-inch holes are drilled into the mortar to reach the wall cavity. A hole is drilled at the top, middle, and bottom. This ensures the foam is injected into the cavity and completely fills it. Once the foam has been installed, the holes are filled with mortar.
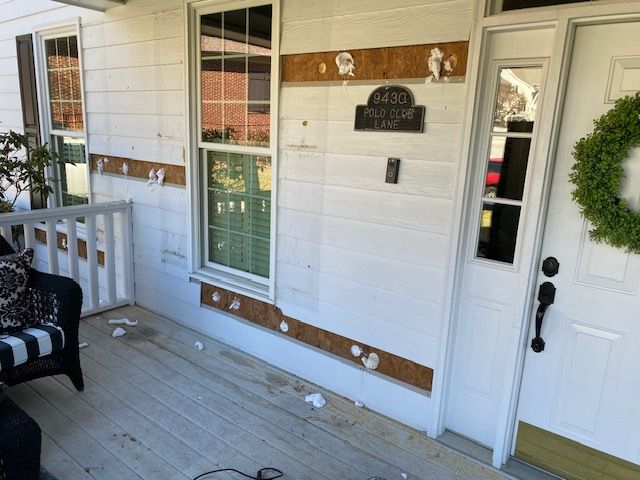
Wood Siding Install
The condition of the wood siding will decide how the installation of the injection foam is done. If the wood is in good condition, it can be removed, and the holes would be drilled into the sheathing underneath. Once the installation is complete, the holes are plugged, and the wood siding is replaced.
If the wood is brittle, there is the chance it could break, so it makes more sense to just drill through it. In both cases, the actual injecting of the foam is the same as vinyl or aluminum siding – the hose is run from the top to the bottom to ensure the foam completely fills the cavity.
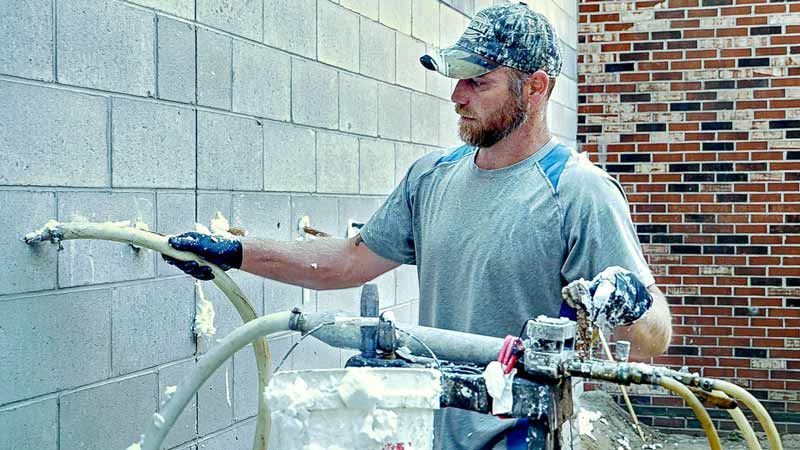
Block Wall Install
The installation process for concrete block walls involves drilling holes into the middle of the wall to access the cores.
The bricks' cores are lined up, so once the holes are drilled, injecting the foam fills those, as well as any other nooks and crannies. Once the cores and openings are filled, the holes are filled with mortar.
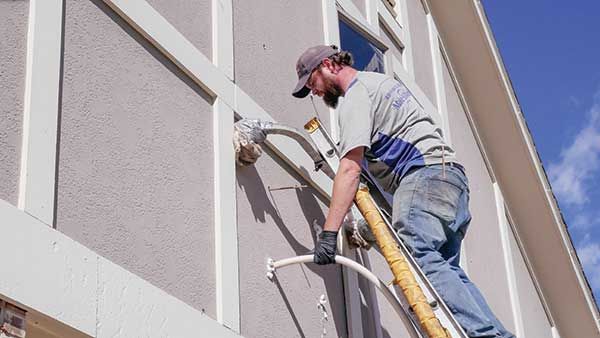
Stucco Exterior Install
When insulating homes with stucco siding, three 5/8-inch holes are drilled at the top, middle, and bottom of each cavity. This method ensures the wall cavity is completely filled with foam.
After the holes have been drilled, the foam is injected into the wall through each hole. Once the job is done, the holes are filled with mortar.

Inside Install with Drywall or Plaster
When installing RetroFoam from the inside, the prep is vital as you don't want to have drywall dust all over everything. Your installer will make sure all surfaces and items in the area of the home where the injection foam will be installed are covered in plastic. Once everything is covered, the installer will do a chalk line on the walls and drill the holes centered on that line.
The installer then runs the hose up to the top of the cavity and begins injecting the foam. The hose is run from the top to the middle and from the bottom up to ensure the cavity is full. Once the foam has been installed, the holes are plugged, and a rough patch of drywall mud is applied.

Hardie Board Install
Removing Hardie board siding during installation is more complex than vinyl or aluminum. The installation crew will carefully lift the board to expose the nails. If the nails are difficult to remove, the nail heads may need to be cut off. Any existing caulk must also be removed. Once the siding is removed, the foam is injected, and the holes are plugged. Then, the Hardie board needs to be replaced.
Reinstalling the Hardie board is a process that shares similarities with vinyl or aluminum, but it does involve a few additional steps that are unique to Hardie board siding. If all the nails come out easily, the crew will reuse the same holes to drive the nails through. If the nail heads had to be cut off, the crew would need to create new holes. Additionally, the crew must re-caulk around the siding once the installation is complete.
Cedar Shake Siding Install
If your house has cedar shake siding, the RetroFoam installation process adapts to fit your home’s unique structure.
The RetroFoam installers carefully remove each shake piece or score the top for a clean removal. Holes are then drilled into the sheathing into each stud cavity. The foam is then injected to ensure the entire cavity is filled. Once the installation is complete, holes are plugged, and each shake is meticulously reattached to maintain the original look.
Cementious Shake Siding Insulation
RetroFoam being injected into a 100 year old home in Fourth & Gill Neighborhood. Once the process is completed, we installed a 1x4 painted trim board to cover the RetroFoam injection drill holes. Now you house is safe and warm for the winter months ahead.
Frequently Asked Questions
Can RetroFoam insulation be installed from the inside?
Yes, RetroFoam insulation can be installed from the inside of your home. For example, when insulating common garage walls, installation is typically carried out from inside the garage. Additionally, some homeowners prefer to avoid drilling into the exterior siding of their home, making interior installation the ideal solution.
Can existing interior walls be insulated with RetroFoam?
Yes, existing interior walls can be insulated with RetroFoam. Many homeowners opt to insulate these walls not only for thermal efficiency but also to reduce sound transmission between rooms, enhancing comfort and privacy.
Can drywall pop or crack during installation?
While it is rare, drywall may occasionally pop or crack during installation. It’s important to discuss any concerns with your local RetroFoam dealer during the consultation to ensure both parties are aligned on expectations. This will help address any potential issues before the installation begins.
How long does it take to install RetroFoam insulation?
In most cases, installing RetroFoam insulation in exterior walls can be completed in a single day. However, the larger the home, the more time the installation may require. Our team works efficiently to minimize disruption to your daily routine.
What happens to existing fiberglass insulation when RetroFoam is injected into the walls?
When RetroFoam is injected into the walls, it compresses the existing fiberglass insulation as it fills the cavity, enhancing the overall insulation performance.
How can I determine if there is existing insulation in my walls?
If you are unsure whether your walls are already insulated, you can inquire with the previous homeowners. If that information is unavailable, you may be able to determine the presence of insulation by removing an outlet cover. Alternatively, drilling a small, inconspicuous hole in a closet or similar area can allow you to inspect the wall cavity.
Share On: